What is Zapier?
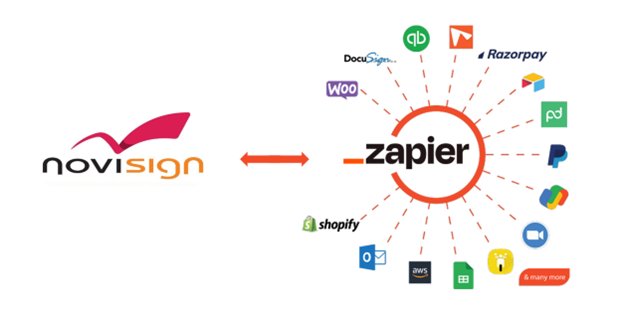
Zapier is a no-code automation platform tool that connects your favorite apps (such as CRM, Google Forms, Google Sheets, Facebook leads and more), so you can pass data and trigger workflows without writing code. It lets you create “Zaps” — automated workflows — by linking a trigger (e.g., a form submission) to an action (e.g., sending data to your app). You can connect two or more apps to automate repetitive tasks without coding or relying on developers to build the integration. It’s easy enough that anyone can build their own app workflows with just a few clicks. This guide walks you through setting up a Zap that pushes third-party data into displayed screens.
How does it work?
Zapier Triggers
Get new data from connected API, parse individual data fields, and let users include that data in subsequent Zap action steps. Triggers can run every time something new is added to an API endpoint or pushed to Zapier via a Webhook, or they can use filters to watch for specific items.
NoviSign Actions
Push new data into integrated API by NoviSign: Save data into feed collections and use it through RSS XML widget or Custom API objects.
Before you start, you need to register a Zapier account (there is a free plan available). After that you may follow the next section.
How to Configure a Zap with API Key Authentication. Step-by-Step Guide
Step 1: Get Your API Key
Before setting up a Zap, the user must obtain his personal API key:
- Log in to Admin Console.
- Go to Accounts.
- Choose the desired Account.
- Go to “Zaps” tab.
- Click Generate API Key.
- Copy the API Key to your clipboard.
Step 2: Connect Your Account with the API Key
- Go to your Zapier account: https://zapier.com/
- Click “Create Zap“.
- In the Trigger step, choose the app that will send data (e.g., Google Sheets, Webhooks, Airtable).
- Set up and test the trigger.
- Click “+” to add an Action.
- Search for NoviSign Digital Signage app.
- Select the “Publish Message” action.
- When prompted to connect your account:
- Click “Connect a new account“
- Paste the API Key you copied earlier
- Click Continue
- Zapier will test the key. If valid, it will connect and return you to the action setup.
Step 3: Configure the “Publish Message” Fields
Zapier will show a form with the fields your action supports. Here’s how to fill them out:
Required Fields
Channel Name
- Purpose: Group messages logically
- Example: “product-launch”, “inventory-feed”
- Tip: You can use a static value or map it from the trigger data
Message ID
- Dynamic: Use a field from the trigger to create unique entries (e.g., “Response ID”, “UUID”)
- Static: Use a constant value (e.g., “current-offer”) to overwrite the same message every time
Max Messages in Channel
- Define FIFO limit (e.g., 5 means only the last 5 messages are kept)
Data
- Purpose: This is the full content of the message
- Tip: You can use multiple data for inputs
- Tip: Use Zapier’s “Custom” option to map each part from the trigger
Optional Fields (Used for Filtering Later)
Start Date
- Optional: Map if the message represents an event (e.g., promotion start)
End Date
- Optional: Event expiration or offer end
- Tip: Can be used for time-range queries later
- Tip: Use the 2 above fields for smooth integration with event managing apps like Google Calendar, Outlook etc.
Quantity
- Optional: For inventory, stock levels, etc.
- Example: 10, 100, etc.
- Tip: Use this field to manage “in-stock” items
Step 4: Test and Review
Click “Test Step” to send the message
Step 5: Turn On the Zap
Once the test succeeds:
- Click “Publish”
- Name your Zap (e.g., “Push New Typeform Submissions to NoviSign”)
- Turn it ON
Example Scenarios
🎯 Use Case 1: Track Inventory
- Channel Name: “store-123”
- Message ID: Map from product ID
- Quantity: Map from current stock count
- Max messages: 100
🗓️ Use Case 2: Publish Upcoming Events
- Channel Name: “events”
- Message ID: Dynamic or event name
- Start/End Date: Map from event info
- Data: Event title, location, etc.
Tip: After finishing configuring new Zap proceed to the next steps and study how to “inject” data in screen content: