Share Only User
What is a Share Only User?
A Share Only User is a special user type that allows you to grant limited access to specific content areas (called zones) within a creative or template—such as just the slideshow section. This makes it easy to delegate content editing tasks to specific people within your organization without giving them full access to everything.
You can share content with any user, but a Share Only User is designed specifically for cases where the user should only view or edit certain shared content—and nothing else.
Who Can Use This Feature?
This feature is available to partners using the Admin tool, where they can directly assign users as Share Only. If you’re not a partner or don’t have access to the Admin tool, you can contact NoviSign support to help set this up for one of your users.
Important:
Once a user is set as Share Only, their NoviSign account will no longer display any previously accessible playlists or screens. They will only see content that has been shared with them. If no content is shared, they may encounter messages like “Playlists load has failed.”
What Can You Share and Control?
When sharing content, you decide what each Share-Only User can do with each zone. For example, you can allow them to:
This gives you full control over what the “shared” user can access and do. You can also assign the shared content to be under Audit, allowing up to 3 reviewers to approve any changes before they go live. Each person you assign for the audit would be notified every time the Share Only User submits a change.
Note:
Although the Share Only role is assigned to a user, it applies to the private account that was automatically created when the user was registered.
Real-Life Examples
Corporate Communications
Let’s say you designed a layout that includes:
Now, you don’t want to be responsible for changing the company updates slideshow and would like the General Manager to update that section but don’t want that office to have access to the other sections. You set up a share-only user for the general manager. When the GM logs in to the account, he or she will see the creative/template and will be able to only access the slideshow zone (widget). All of the other zones will be locked and unavailable to update.
Digital Menu Boards
You manage several restaurants, each with three digital menu boards. After setting up the initial layout and menu items, you want each restaurant manager to be able to make changes to their own menu—like updating prices or descriptions. When sharing the menu, you can share the text section zones, so the store managers would only have access to the text. Now, remember you can also share image zones or any other section. It all depends on what you want each share-only user to have access to.
How to Create a Share-only User Account
-
Create a new user account at the NoviSign registration page
-
Contact NoviSign Support to convert that user into a Share-Only User.
-
Log in with another user account (the one with the original content), open the creative you want to share.
-
Select the zone(s) or widget(s) you want to share and click the Share button.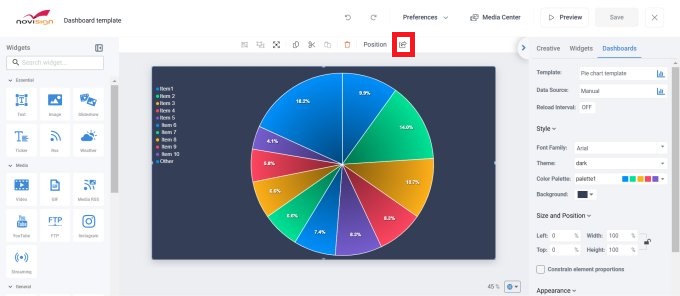
-
Follow the sharing steps in the user guide to choose permissions and complete the setup.
-
The Share-Only User will now see the shared content in their account when they log in. 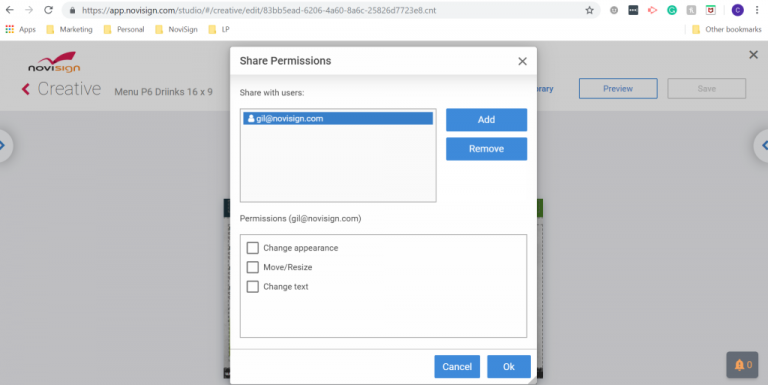
Conclusion
Share-Only User accounts are a great solution when you want to let others manage only specific parts of your content. You stay in full control—deciding what each user can see and do—while locking down everything else. In addition, all of the other zones would be locked and un-editable.