This guide provides a step-by-step walkthrough on how to configure your ad campaign parameters using your account on the ad-serving platform Vistar Media.
Vistar Media is a third-party web service designed for delivering advertisements. By creating an account, you can set up and manage your own ad campaigns—defining the display order, frequency, and more.
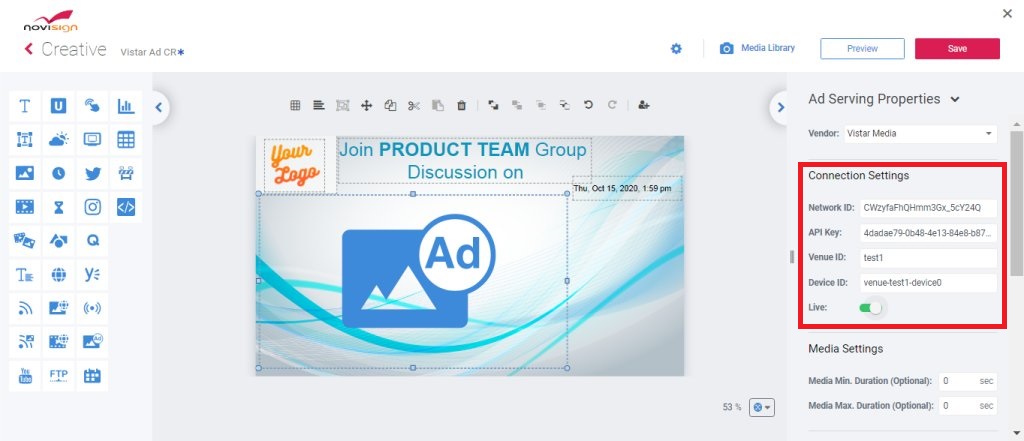
Using NoviSign’s Ad Widget, which supports multiple ad-serving services, you can integrate Vistar Media to display your campaign ads as part of your NoviSign playback content.
Before proceeding, ensure that you have an active Vistar Media account and that your first ad campaign is fully set up within their platform