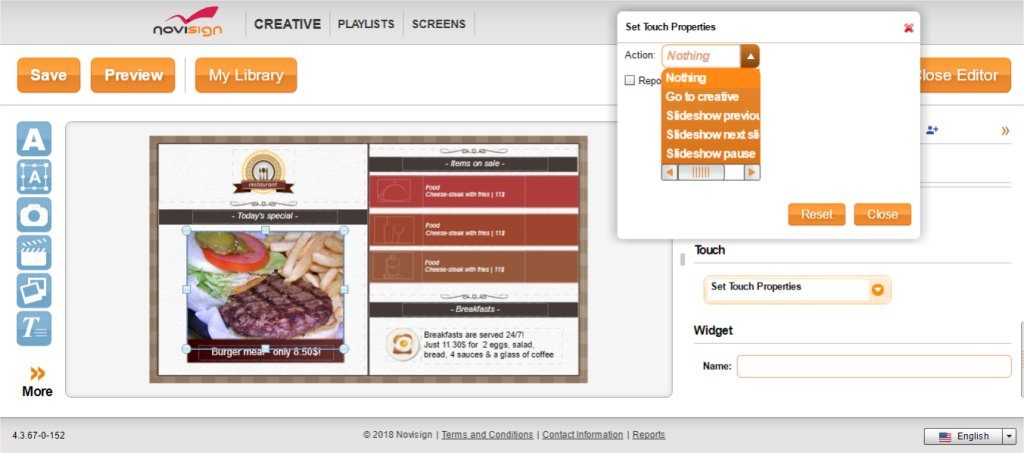
This procedure will show you guidelines of our best practice for installing shelf edge displays, such as Android based 23.1″ shelf screen, usually in retail stores, such as supermarkets.
Shelf displays, also known as shelf edge displays, shelf screens, stretch displays, electronic shelf displays, eShelves or e-shelves or other names are a kind of LCD bars which are mostly Android based and used to be mounted on a shelf. In mot cases in your most strategic point of the store, like the endcap.
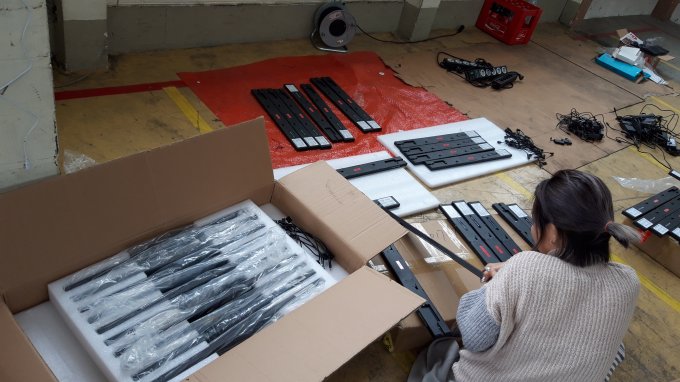
We had several case studies to learn from before composing this document.
Tasks to be done at the lab BEFORE performing the installation:
- If any special R&D developments are required for the project, make sure they have been completed and fully tested with multiple scenarios.
- Make sure you have a username and relevant prepared content for the displays.
- If database (i.e. Google spreadsheet) integration is required, make sure it was done and that you get live data into a sample unit.
- Get the all the dimensions of the shelves of the store you’re planning to install. The dimensions are not enough – you also need a full planogram from them, to know how the products aligned on each of the shelves.
- Prepare the latest or special APK for the installation on a USB stick.
- Set on each device the lab WiFi and the store WiFi (if possible).
- Install the relevant APK on ALL the units in the lab. If you have a defected unit, this is the moment where you’ll discover it.
- Preconfigure all displays in the lab.
- Install Teamviewer and add the unit to our Teamviewer managed devices.
- Confirm the labels are in the right location and that the content fits. You might want to use the store’s plaogram since in some products/soft labels the gaps between them and the width they span over – might be different than other products (that will require to position them differently in the CMS).
- In case your softlabels show a barcode or QR code, now is the time to confirm that it can be easily scanned: try to use a barcode scanner and/or smartphone app for scanning QR code. Repeat it several times just to make sure the barcode or QR code is sharp enough and clear.
- In case you use a rail (usually, a metallic or plastic sleeve that on one side connects to the eShelf and on the other side connects to the shelf at the store), mount all the units to the rail at the lab, as this might be the most time consuming task in this list. All the power connections should be done on the rail (so the only thing to do at the store will be to connect the power in the edge of the rail to a power supply unit). When using the shelf tag 2 rail, you can connect up to 4 shelf screens to the rail and to the same power supply (please calculate the amperage you need for that).
- Make sure you have enough spare parts (accessories) and shelf displays in your stock, in case something is missing or one of the displays or power supplies becomes defected.

Tasks to be done at the venue (store) BEFORE performing the installation:
- Confirm that the WiFi of the store covers the installed section of the store. For that, take one shelf display to the store and try to connect with it to the WiFi (using your smartphone or laptop for that is not effective since the shelf displays’ WiFi antenna has a shorter range).
- Prepare the electricity infrastructure on the site (take enough manpower to assist you with that – you will definitely need the store’s full assistance with that). Make sure you have enough amperage capacity to feed ALL the shelf display you’ll install (other wise when you power up the last ones, some will start blinking and won’t work).
- Take one sample shelf display and verify that the mounting brackets/clamps/rail/connectors are suitable to the actual shelves in the store.
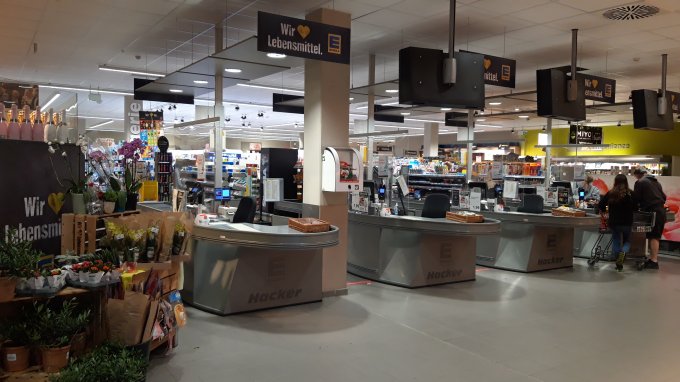
Moments before the installation
- The optimal is that the installation of a section in a store would be during night time. Better a whole night, to make sure the job is completed in one session only.
- Make sure you’re going to have enough manpower to assist you with the installation.
- During the installation, better have remote backup technical person from the NoviSign team available to assist in any possible technical issue, near a PC.
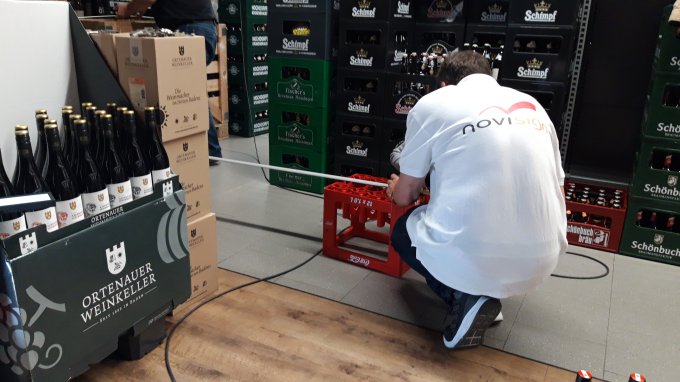
The installation
- Bring all the equipment with you to the store and also make sure you have with you spare parts (accessories, power supplies and displays), in case one of them becomes defective.
- Bring with you a toolkit with all screwdrivers in all sizes (including small ones for the shelf screws).
- Deploy all the units to be installed nearby the installation location.
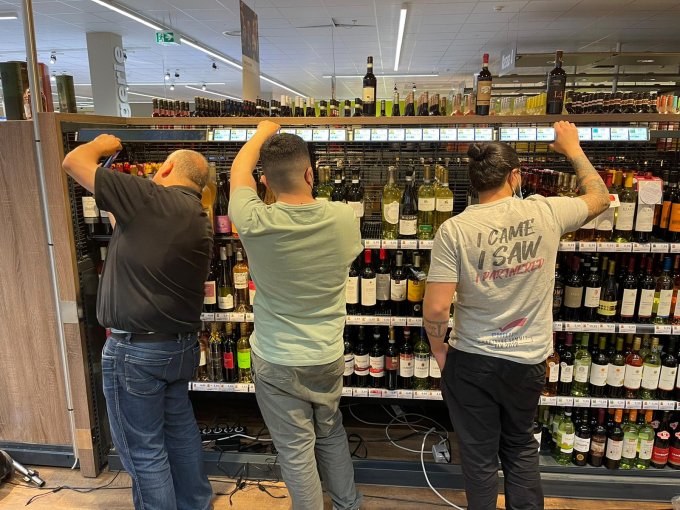
- You might want to remove products from the shelves. Best way to do it is to remove all products from one row, then install the shelf screens on that row, then return all products back to those shelves.
- Make sure that the products on the shelves are aligned accurately above each shelf compared where the soft labels appear on the LCD bars. Do it after installing each row.
- In case the WiFi wasn’t preconfigured before, now is the time to do so, while installing the shelf displays. If they’re not attached to rail yet, connect them to the WiFi, one by one. If they were already mounted over a rail, then set the WiFi only after mounting them on the shelf and after the power was connected. You do it after mounting each row.
- After everything is mounted, connected to power and to the network, sit down and take a look at the content. Make sure everything is played correctly with no issues. If they’re should be synchronized (using NoviSign special synchronization feature of separate units), then make sure they are.
- Go home and get some sleep.

Good luck,
Nir
 info@novisign.com
 +972 (9) 794-7643
 (646) 893-7770

