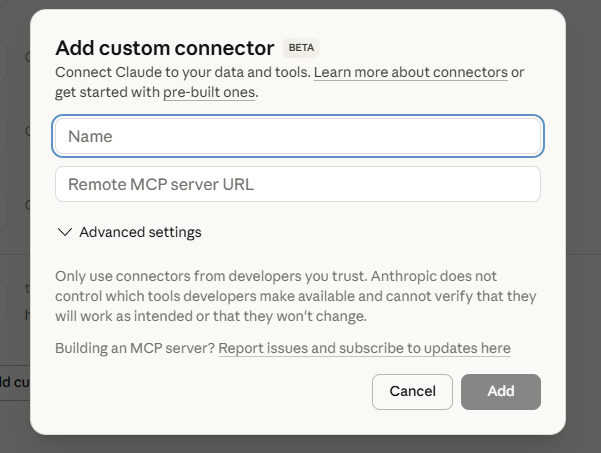
Once Claude is connected to NoviSign using MCP, you can start sending data into NoviSign simply by describing what you want in plain language.
No coding or technical setup is required.
Claude takes care of formatting the data correctly and sending it to NoviSign securely on your behalf.
Sending Data Using Claude (Example)
To add data, type a clear request in Claude, such as:
Add a new event called “EU Spring Conf 2027” to the events group.
The event starts on 2027-03-15 and ends on 2027-03-17.
Description: Annual Spring Conference for EU citizens.
Location: Barcelona, Spain.
You can write naturally—Claude understands full sentences and does not require a specific format.
What Happens After You Send the Request
After you submit the prompt, Claude will:
- Understand your request
- Structure the data correctly
- Send it to NoviSign using MCP
- Create the item under your NoviSign account
If everything is successful, Claude will confirm that the data was created and display the details.
Example Confirmation (What You’ll See)
Claude may respond with a confirmation similar to this:
Event created successfully
Name: EU Spring Conf 2027
Start Date: March 15, 2027
End Date: March 17, 2027
Location: Barcelona, Spain
Status: Planned
The event is now available in your NoviSign catalog.
This confirmation means the data was successfully received by NoviSign and is now ready to be used when configuring content in NoviSign Studio.
Helpful Tips
- You don’t need to follow a strict structure—just be clear and specific
- Claude will let you know if something is missing or unclear
- You can also ask Claude to update, modify, or create additional data using similar prompts
What’s Next?
Once the data has been sent into NoviSign, you can use it when creating content in NoviSign Studio, as described in the next section.