The Amazon Signage Stick is a dedicated digital signage device designed to run a single application in kiosk mode. The NoviSign Player app comes pre-installed, allowing for a quick setup with minimal configuration.
Amazon Signage Stick – Installation Guide
Physical Setup
-
Connect the Signage Stick to your display using the HDMI port.
-
Connect the power supply to the stick (USB or power adapter depending on model).
-
Power on the TV/monitor and switch to the matching HDMI input.
Initial Device Configuration
When the Signage Stick starts for the first time:
-
Select your preferred language.
-
Connect to Wi-Fi (required for content playback).
-
The device may check for system updates — allow it to complete.
No Amazon personal account setup or Appstore installation is required.
Note: There is no Ethernet port, so Wi-Fi access is mandatory.
Launching NoviSign
The NoviSign Player app is already available on the Signage Stick.
-
Open the NoviSign Player app from the home screen.
-
On the login screen:
-
Enter your NoviSign username & password
-
Press Login
-
-
From the device list, select the screen you want to pair.
-
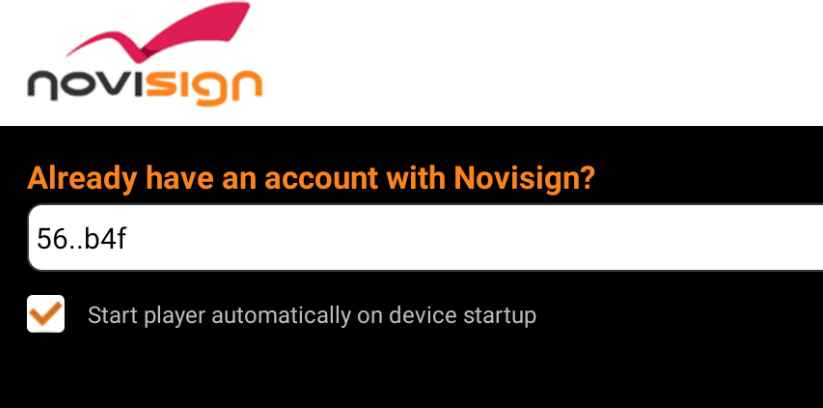
Check the box: Auto start on device boot
5. Press Go to start playing content. When the content is fully downloaded to the app’s cache, it will start playing it. Watch one cycle of the content to see that all works ok.
In order to stop the running app, you need to click the back button in the remote control.
Recommended App Settings
To avoid interruptions on a live display:
- Open the App Settings (gear icon in the top-right corner)
- Turn OFF: Display Notifications (under the “Notifications” block of settings) as you do not want that notification will appear on a live display.
- Exit the settings screen by pressing the back button of the TV remote control, back to the entrance screen of the app.
- Press Go to start playback
Your Signage Stick should now be paired, connected, and playing content.
If the screen does not start after reboot, please check that Auto Start is enabled.