CSV stands for Comma Separated Values — a text file format used to store tabular data such as numbers and text. It uses commas to separate values and new lines to separate records.
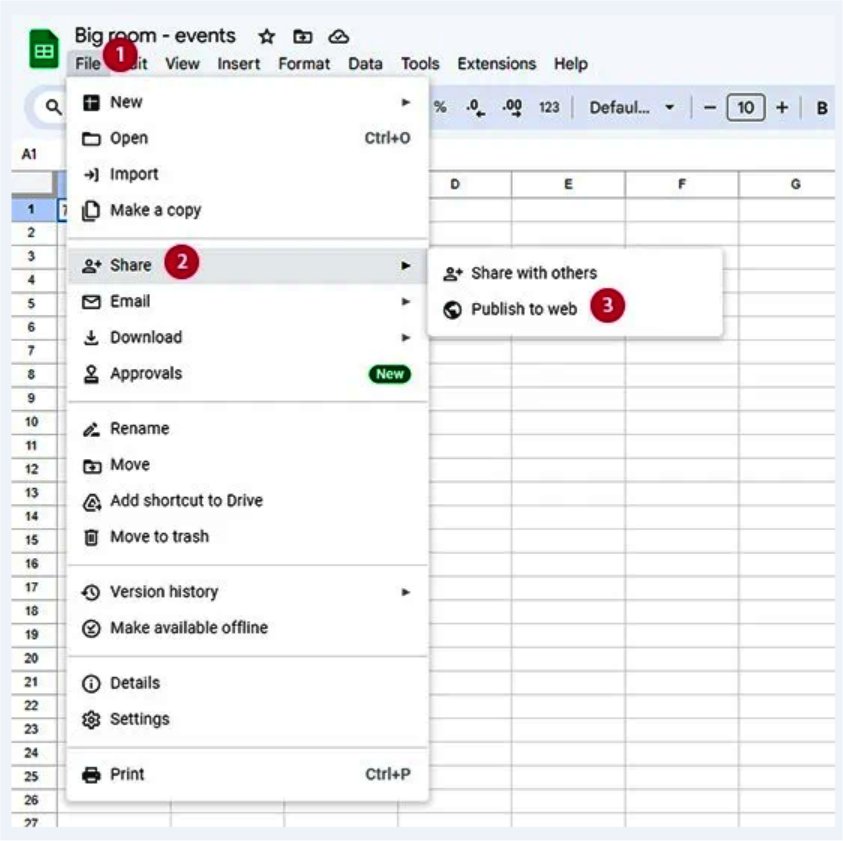
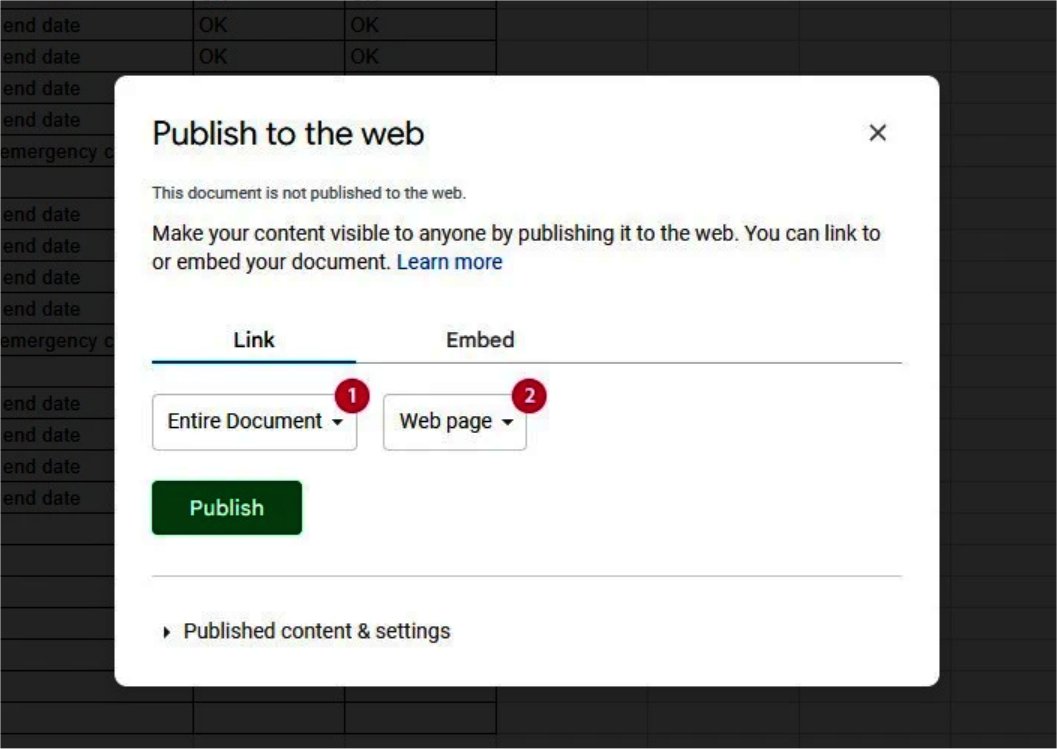
In NoviSign CMS, CSV files can be used as input for several widgets, such as the Calendar Widget, or simply to display a Google Spreadsheet using the Embed Widget.
A typical CSV file:
-
Represents each record as one line.
-
Uses commas to separate each field within a record.
-
Requires all records to have the same number of fields.
-
Allows fields to be enclosed in quotation marks, especially if the field contains a comma.